Interlocking Isn’t Just for Squares!
Happy National Crochet Month! To celebrate my day on the NatCroMo Blog Tour, March 27th, I thought I would talk about an innovative crochet technique … triangle interlocking crochet!
While there are many amazing interlocking crochet designs created with a square mesh, did you know you can also do interlocking with nets of triangles? Let me tell you a little more about it!
Similarities
There are some important similarities between interlocking filet crochet and triangle interlocking crochet:
- It’s very important to understand the difference between right side and wrong side, and front and back. Right side refers to the design side of the work, while wrong side refers to the hidden or non-public side. Whether you are looking at the right or wrong side, the front of the work refers to the side that is facing you, and the back of the work refers to the side that is facing away from you.
- Main color stitches are only worked into main color stitches and contrasting color stitches are only worked into contrasting color stitches; they are never worked into each other. Instead, stitches are pulled through the window of the opposite color to work in the front or back. This creates the interlocking effect.
- You always work two rows in one direction, one main color and one contrasting color, then turn the work and work two rows in the opposite direction.
- After turning the work, make sure the contrasting color is moved to the front or back per the instructions.
- While interlocking is not technically reversible, both techniques do create an interesting design on the wrong side.
General Rules
There are also few general rules to follow when working with triangles:
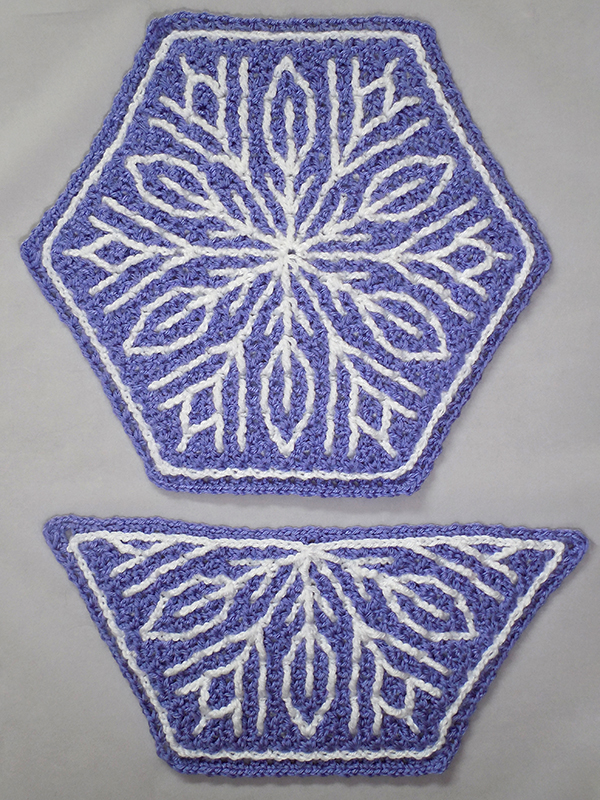
- A triangle mesh stitch is created by a double crochet two together (dc2tog) with a ch-2 space separating the two sides and there is always a ch-2 space after each triangle mesh stitch. The dc2tog creates an upward-pointing triangle, while the ch-2 space between triangle mesh stitches creates a downward-pointing triangle.
- Each row of triangle mesh stitches creates a net of both upward- and downward-pointing triangle windows.
- Always insert your hook through a downward-pointing triangle window of the opposite color when pulling the top of the same color stitch to the front or back.
- Triangle mesh stitches always begin in the same stitch the previous triangle mesh stitch was completed in.
- Triangle mesh stitches can be worked in several ways to create the design: both legs of the triangle in front, both legs in back, or one leg on each side.
Floating Stitches
Floating stitches are extra stitches and provide additional angles to enhance a design. Here are a few important points about floating stitches:
- A triangle mesh stitch is worked over every set of two triangle mesh stitches. Floating stitches are always extra stitches that are paired with the working triangle mesh stitch.
- Floating stitches are worked as a double treble (dtr – 3 yarn overs) and are always worked on the right side of the work.
- Diagonal floating stitches can be worked to the left and/or right of the triangle mesh stitch, while the floating vertical stitches are worked straight down in the center of the triangle mesh stitch.
- It is possible to have up to five parts in a single triangle mesh group that will be joined together in the last step to count as one triangle mesh stitch: right floating diagonal stitch, right leg of the triangle, vertical floating stitch, left leg of the triangle, and left floating diagonal stitch.
- When working main color mesh stitches near floating stitches, push the floating stitch toward its attached triangle mesh stitch to access the stitch to work into, even if it feels it is being pushed quite far.
Are you up for the challenge and ready to get started on this innovative triangle interlocking crochet technique? You can watch the full two-part tutorial, provided in collaboration with Kate Dudman (creator of the Interlocking Crochet World Facebook page), on my YouTube channel:
- Take Interlocking Crochet to the Next Level with Nets of Triangles! Part I – covers set-up, learning all the stitches, and working the increasing rows.
- Take Interlocking Crochet to the Next Level with Nets of Triangles! Part II – covers working the decreasing rows, borders and joining the motifs.
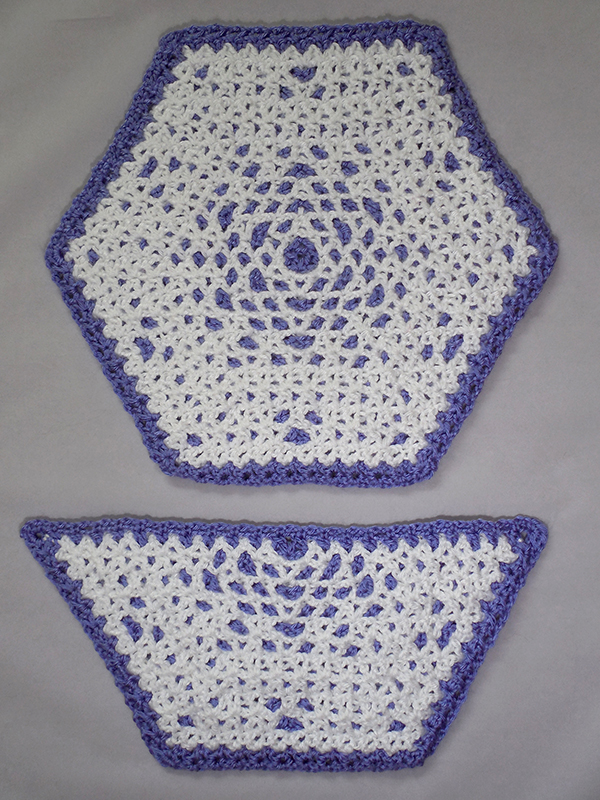
Be sure to download the FREE Snowflake Snowflake! motif pattern and follow along!
Happy Crocheting!
Kathy
Pingback: Kathryn Clark, Featured Crochet Designer – Crochetville
This snowflake motif is beautiful! Thank you for being on the blog tour this year!
Thank you so very much! The blog tour is so much fun to take part in! I enjoy reading about all the designers!
Thanks!